The Character Builder field guide
How to make AI character sheets for the best character consistency.
Four panels, one grey background, one face. Click each panel to see what it does and why the model needs it.
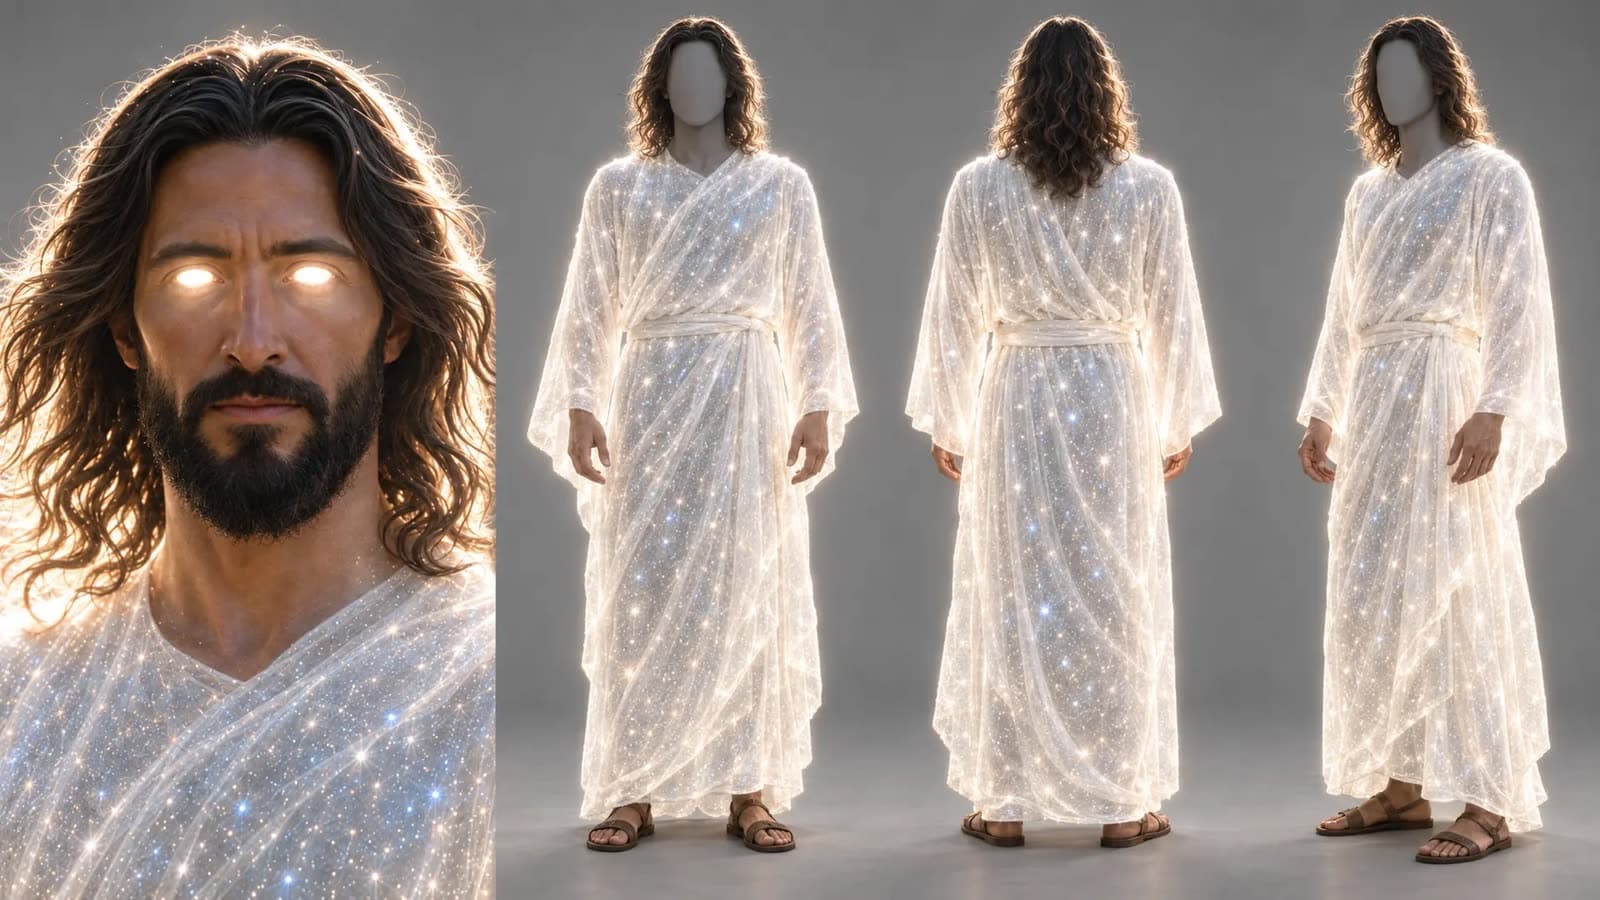
The only face on the sheet. It is large, sharp, and detailed, so the model reads identity from here and nowhere else.
The quick answer
Build your character sheet in 16:9 with four panels: a detailed face close-up plus full-body front, side, and back views. Use a solid grey background, not white. Grey out the faces on the full-body views so the close-up is the only facial reference. Give important props their own sheet.
- Aspect ratio
- 16:9One wide frame
- Panels
- 4Close-up, front, side, back
- Background
- Solid greyNever white
- Faces shown
- 1Close-up only
00 · Watch the tutorial
Three mistakes, ninety seconds.
If your character sheet is wrong, you can waste a ton of credits trying to fix consistency later. Here is what to change before you generate a single shot.
Mistake 01 · The busy sheet
Four panels. Nothing else.
Annotated sheets with head studies, weapon callouts, and mood boards look great on a wall. To a model, they are a crowd of conflicting references. Drag the slider to compare.
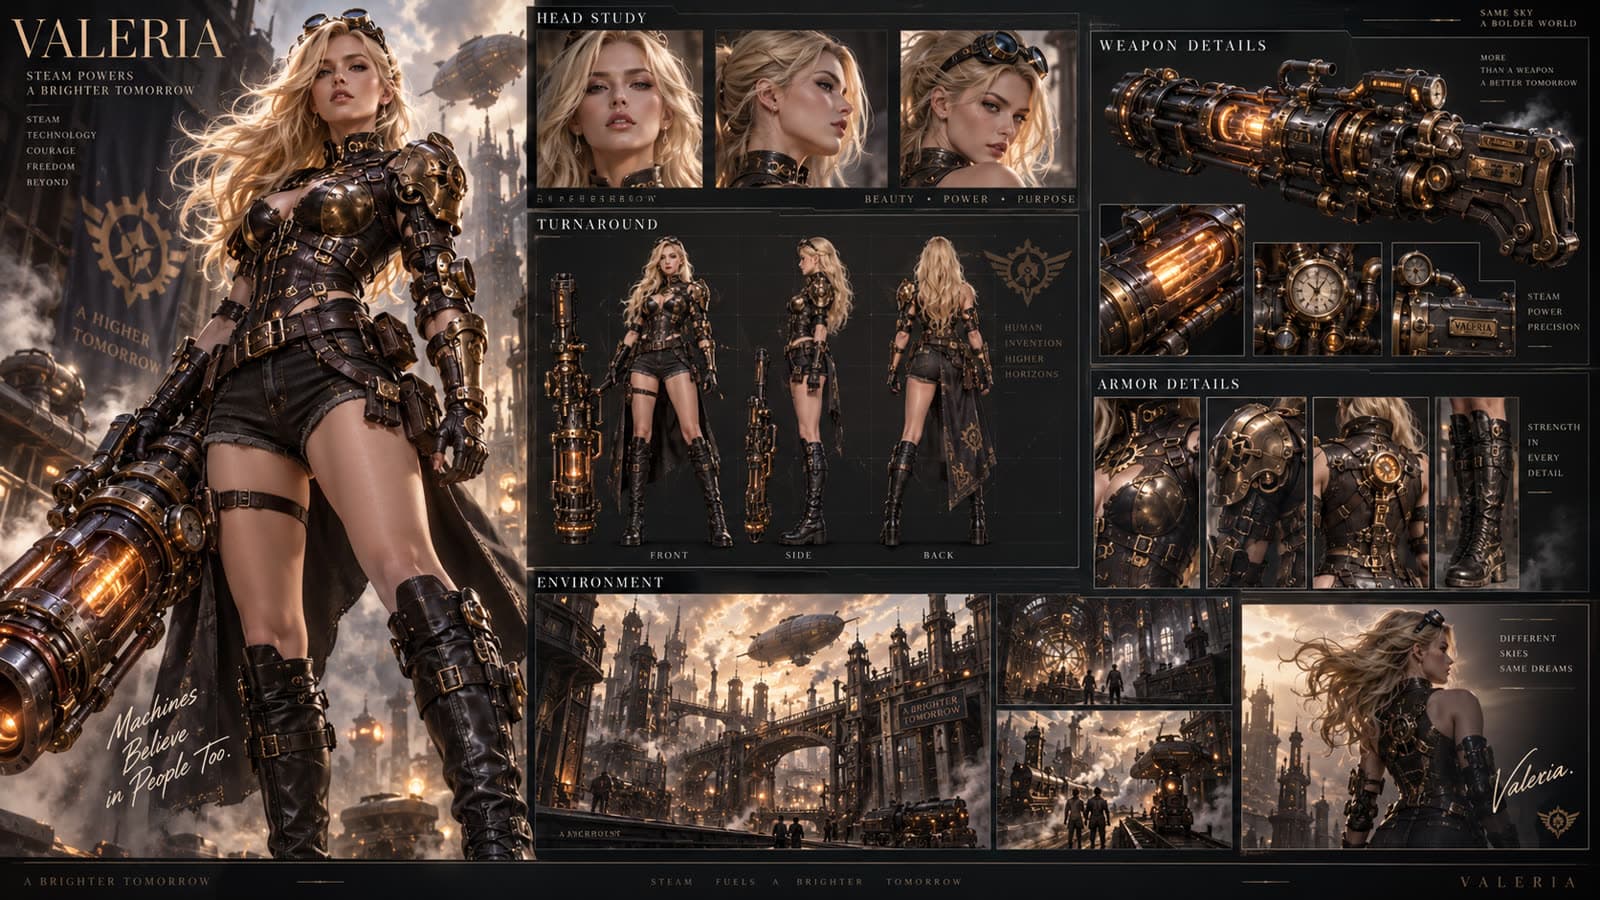
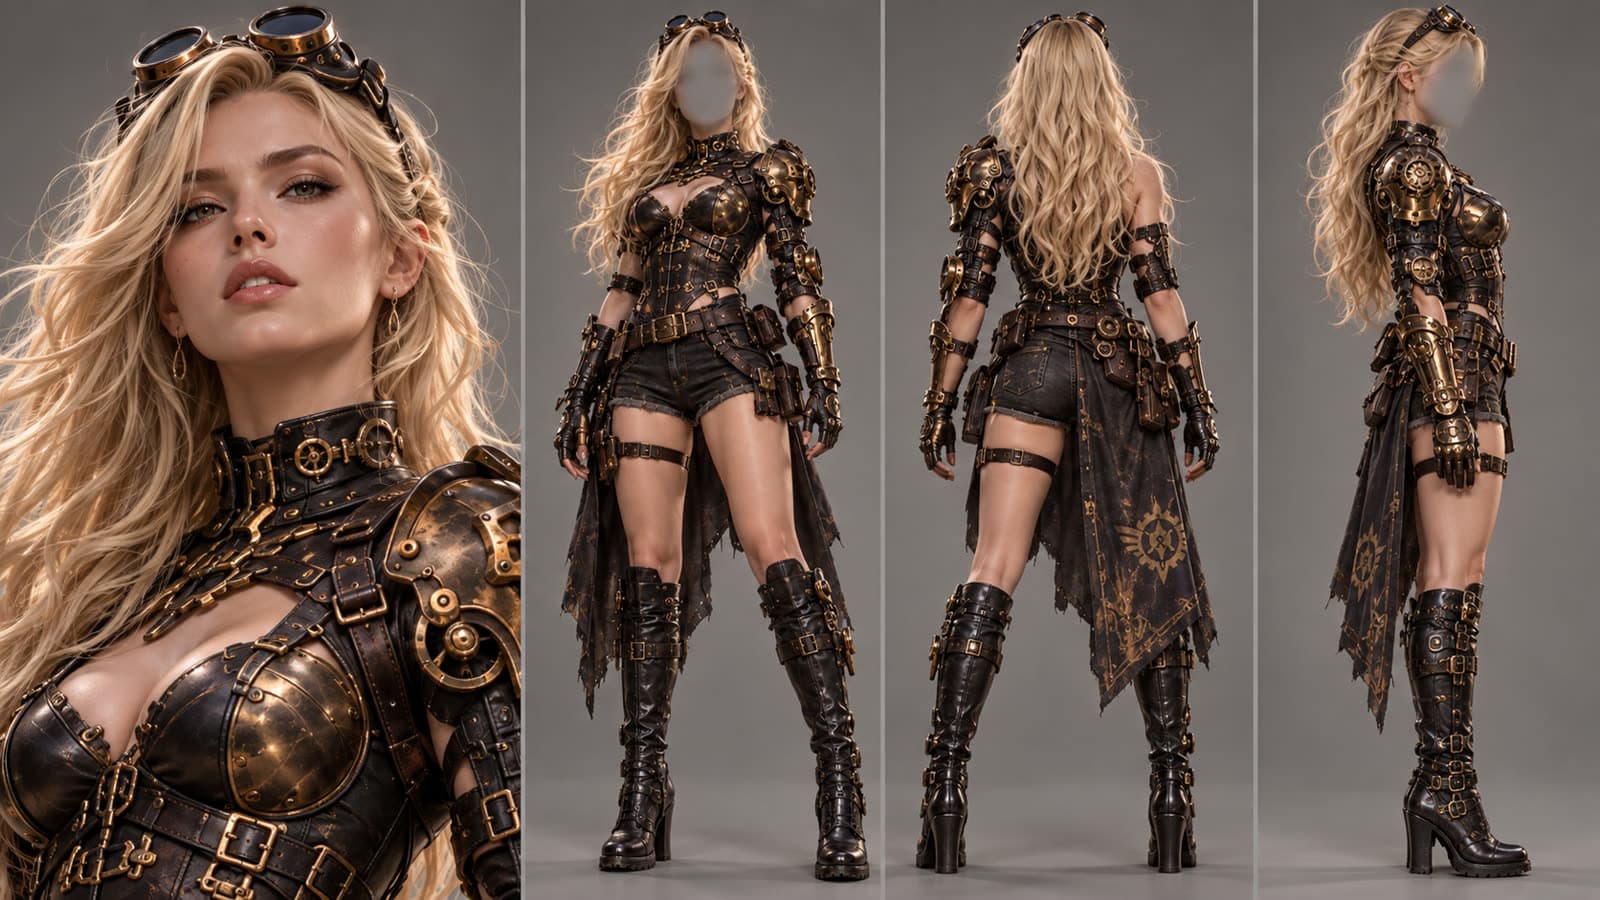 BeforeAfter
Build in 16:9 and split it into four sections: one detailed close-up of the face, then full-body front, side, and back views. That covers the face and the entire look, head to toe.
Mistake 02 · The white background
Grey, never white.
White affects the lighting. It bounces into the character and can make them look overly bright or plastic once they land in a scene. A solid grey background stays neutral, so skin and fabric read true.
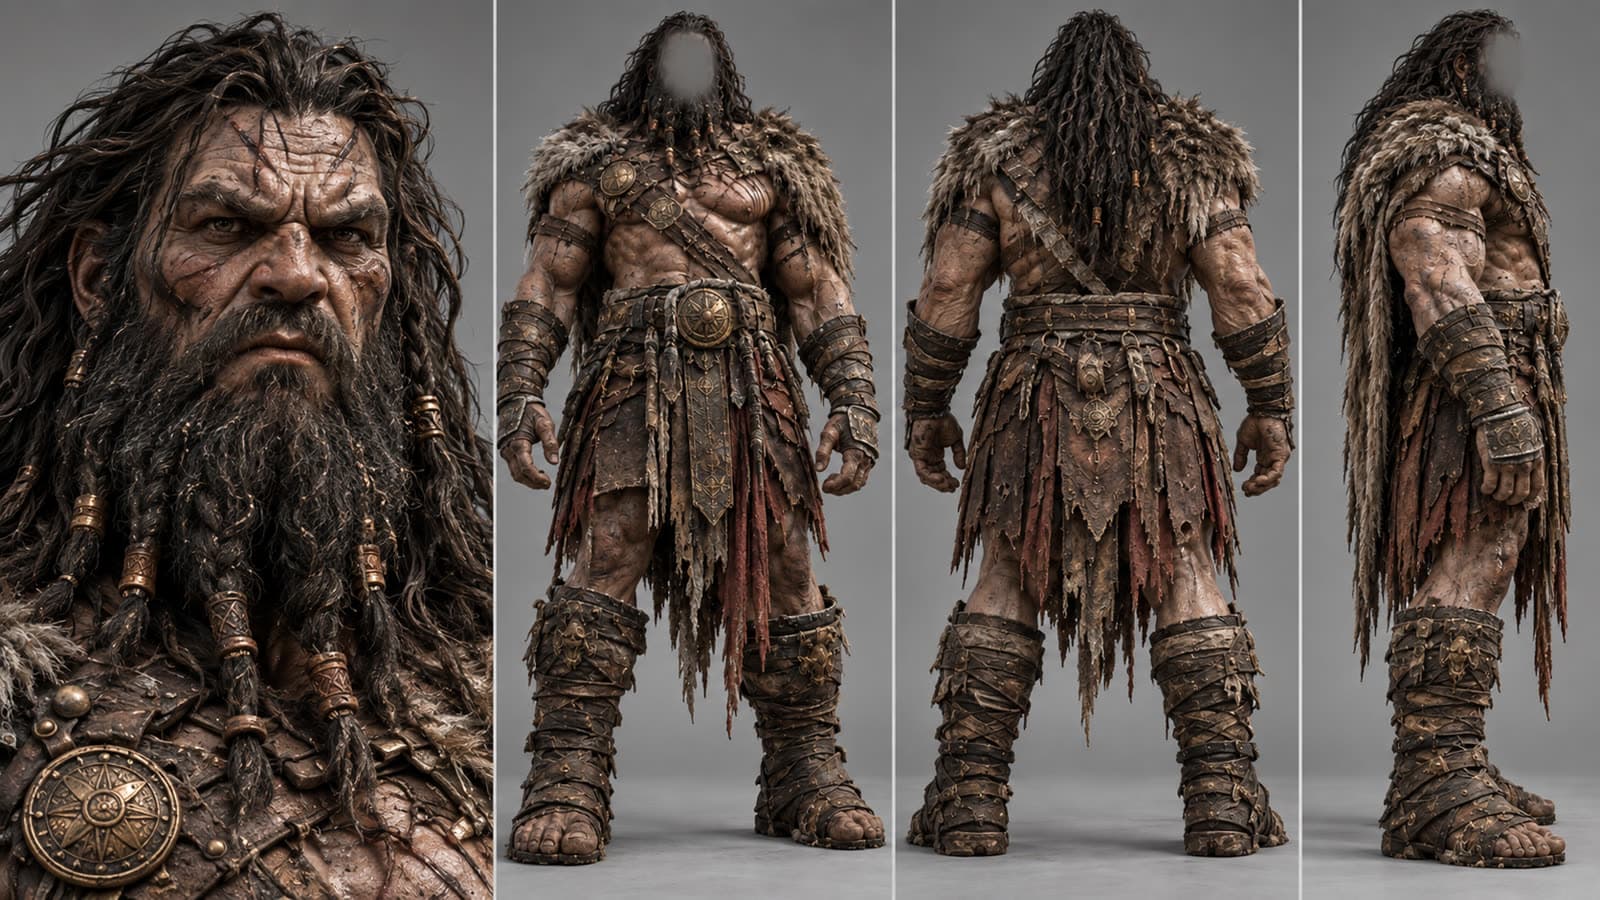
Use a seamless solid grey studio background on every panel. No gradients, no scenery, no white.
Mistake 03 · Faces everywhere
One face on the whole sheet.
Faces in full-body shots are too small to hold much detail, and they confuse the model. It tries to average a sharp close-up with three blurry faces. Grey them out and the close-up becomes the only facial reference.
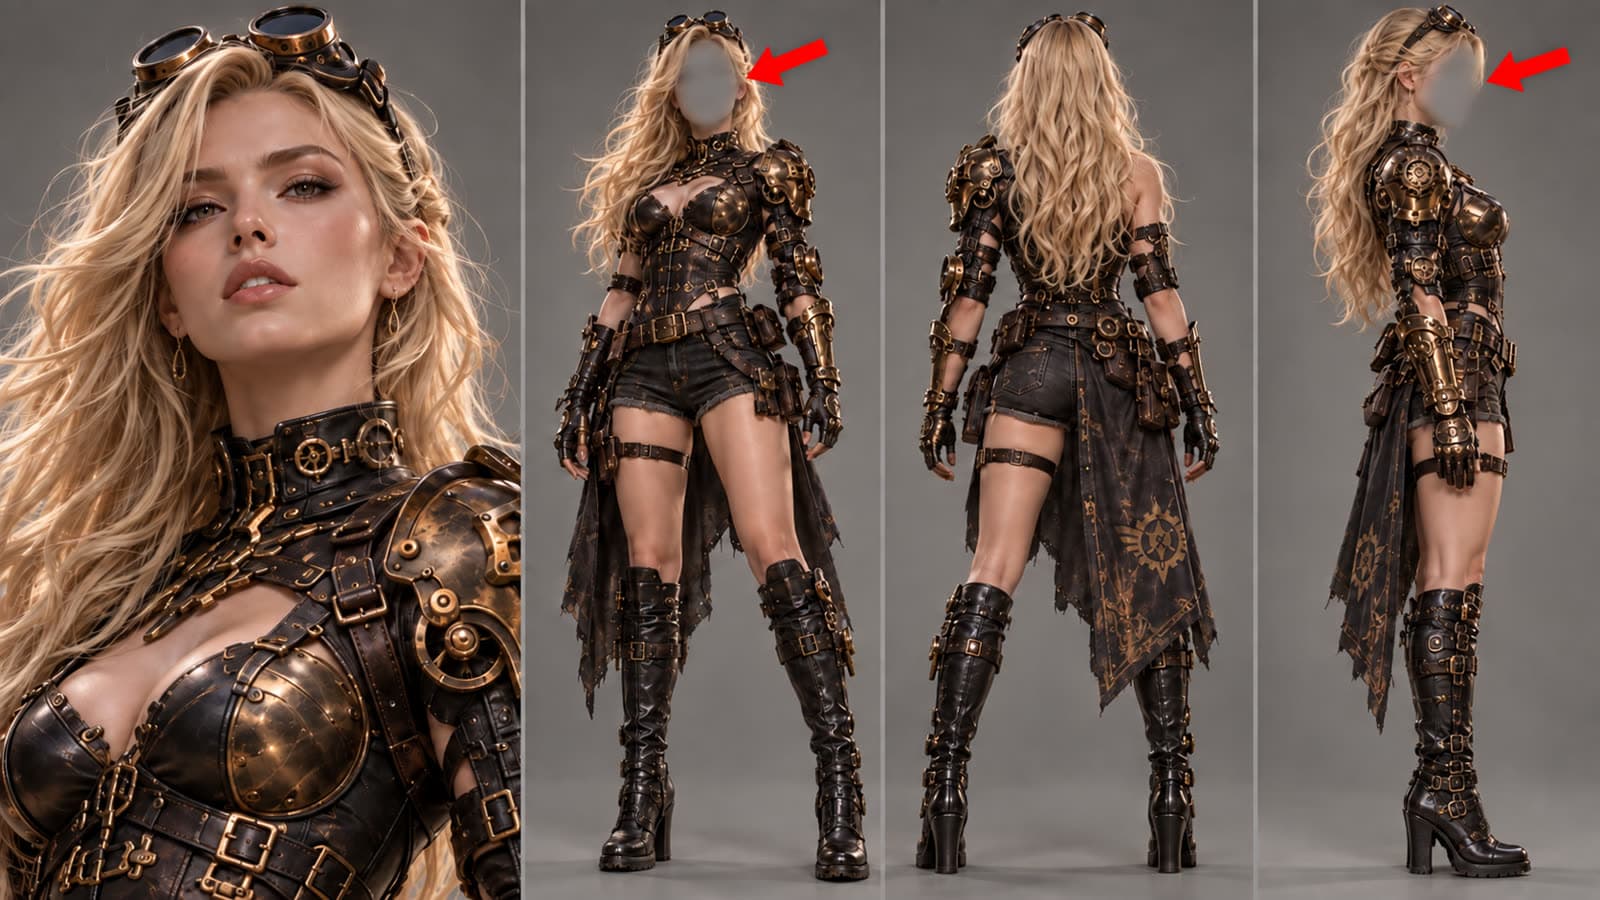
Render the head on the front, side, and back views as a smooth, featureless grey mask. Keep full detail in the close-up.
04 · Props
A prop that matters gets its own sheet.
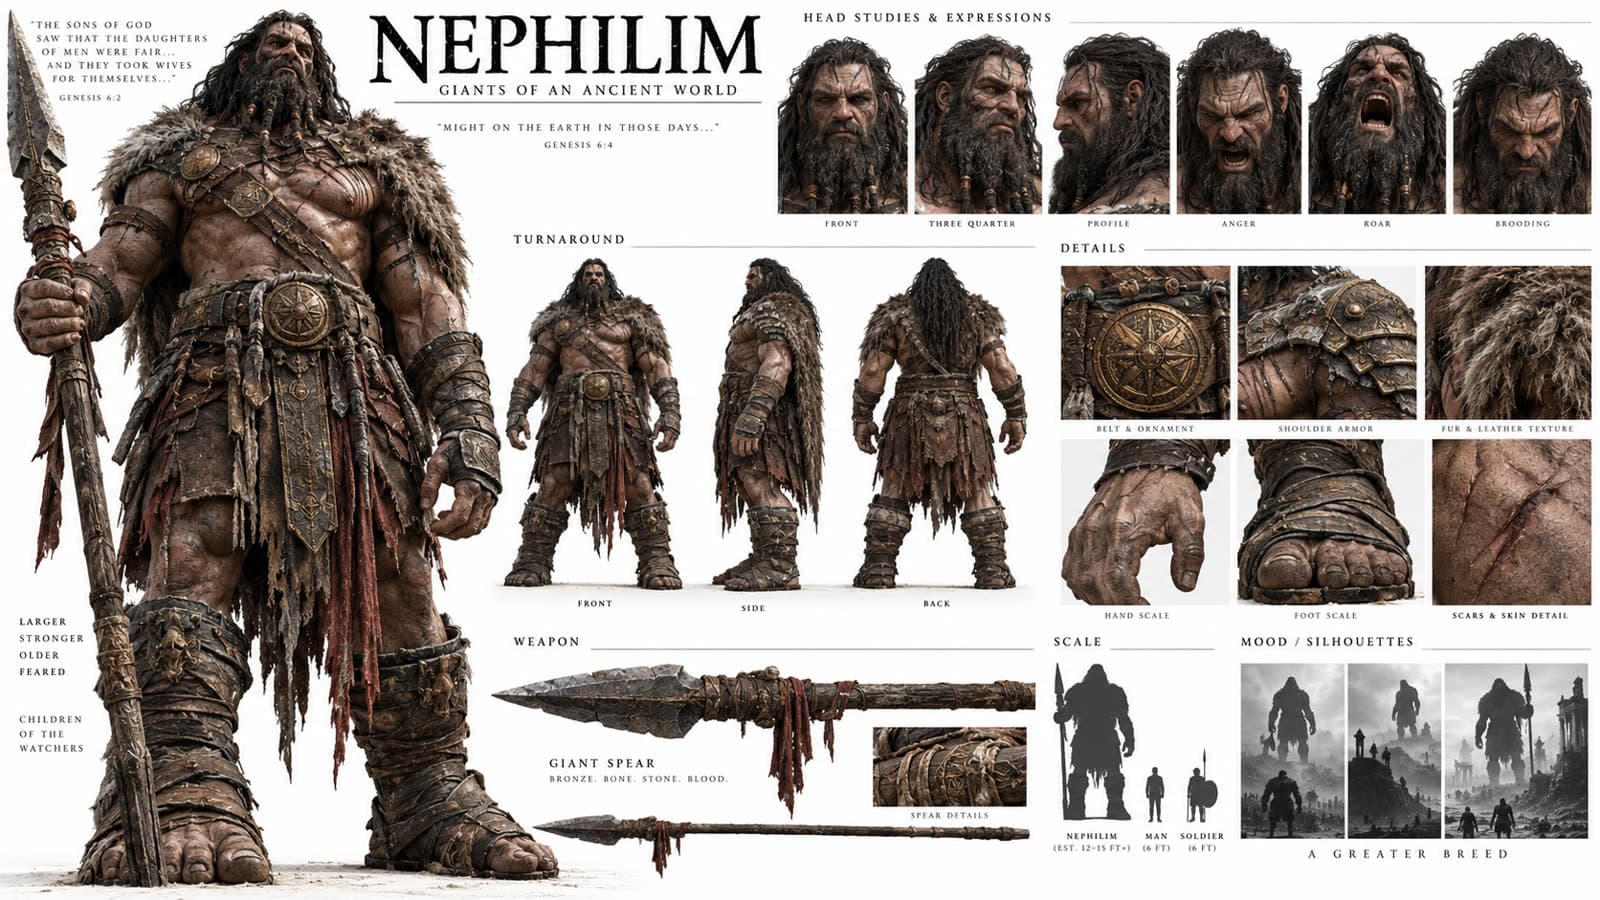
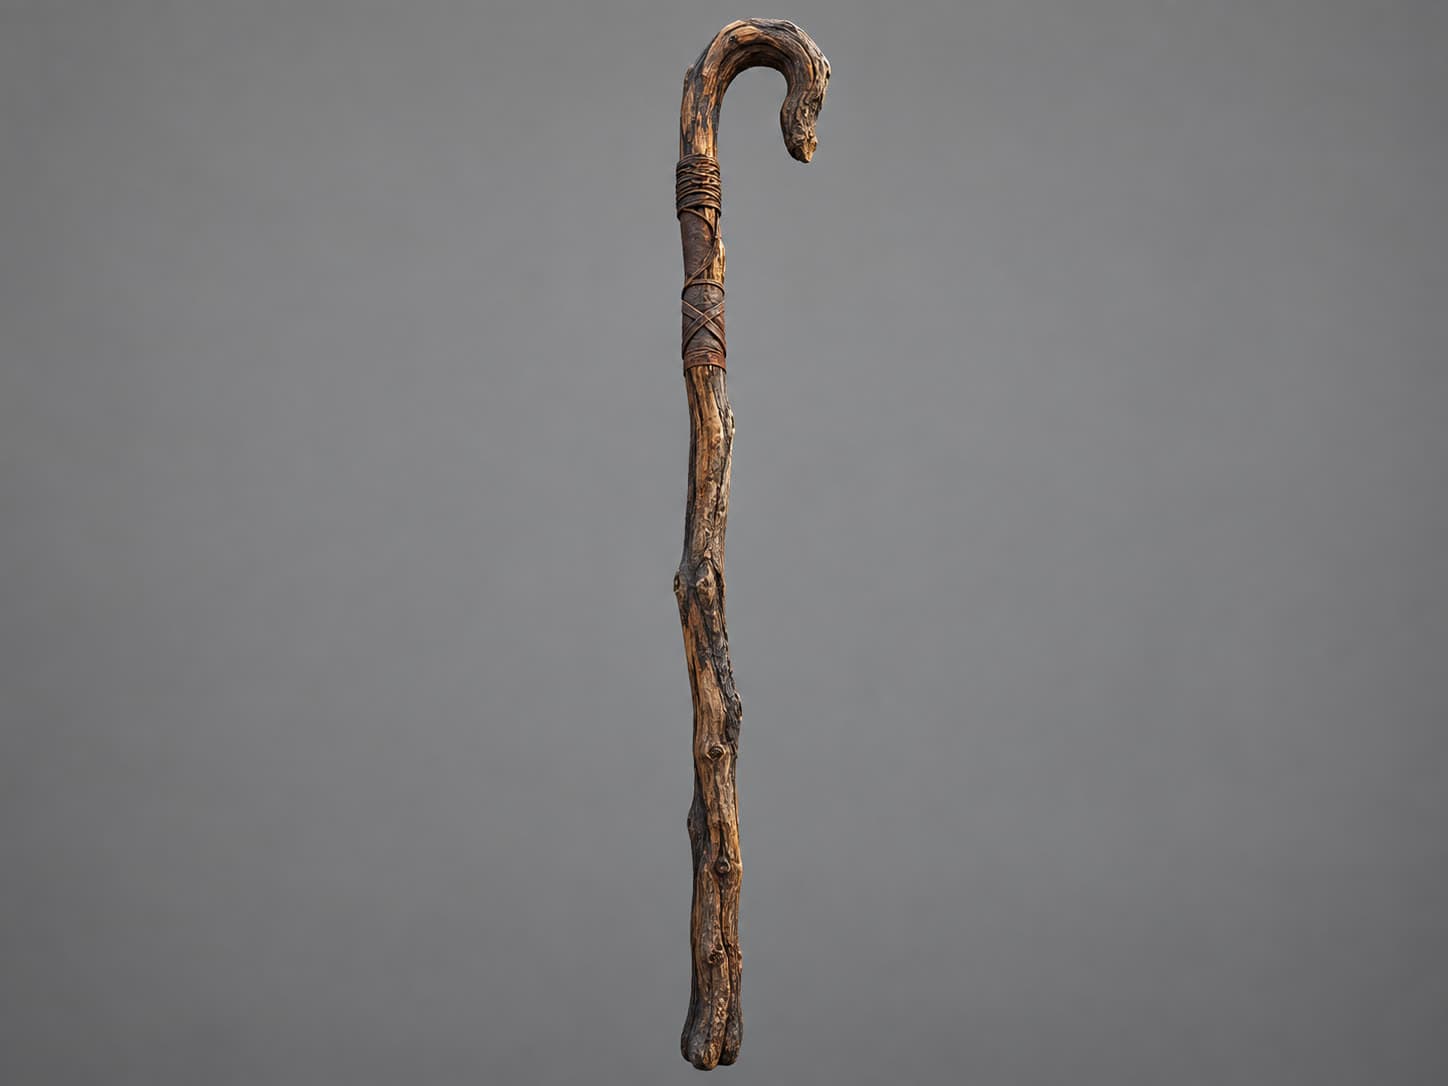
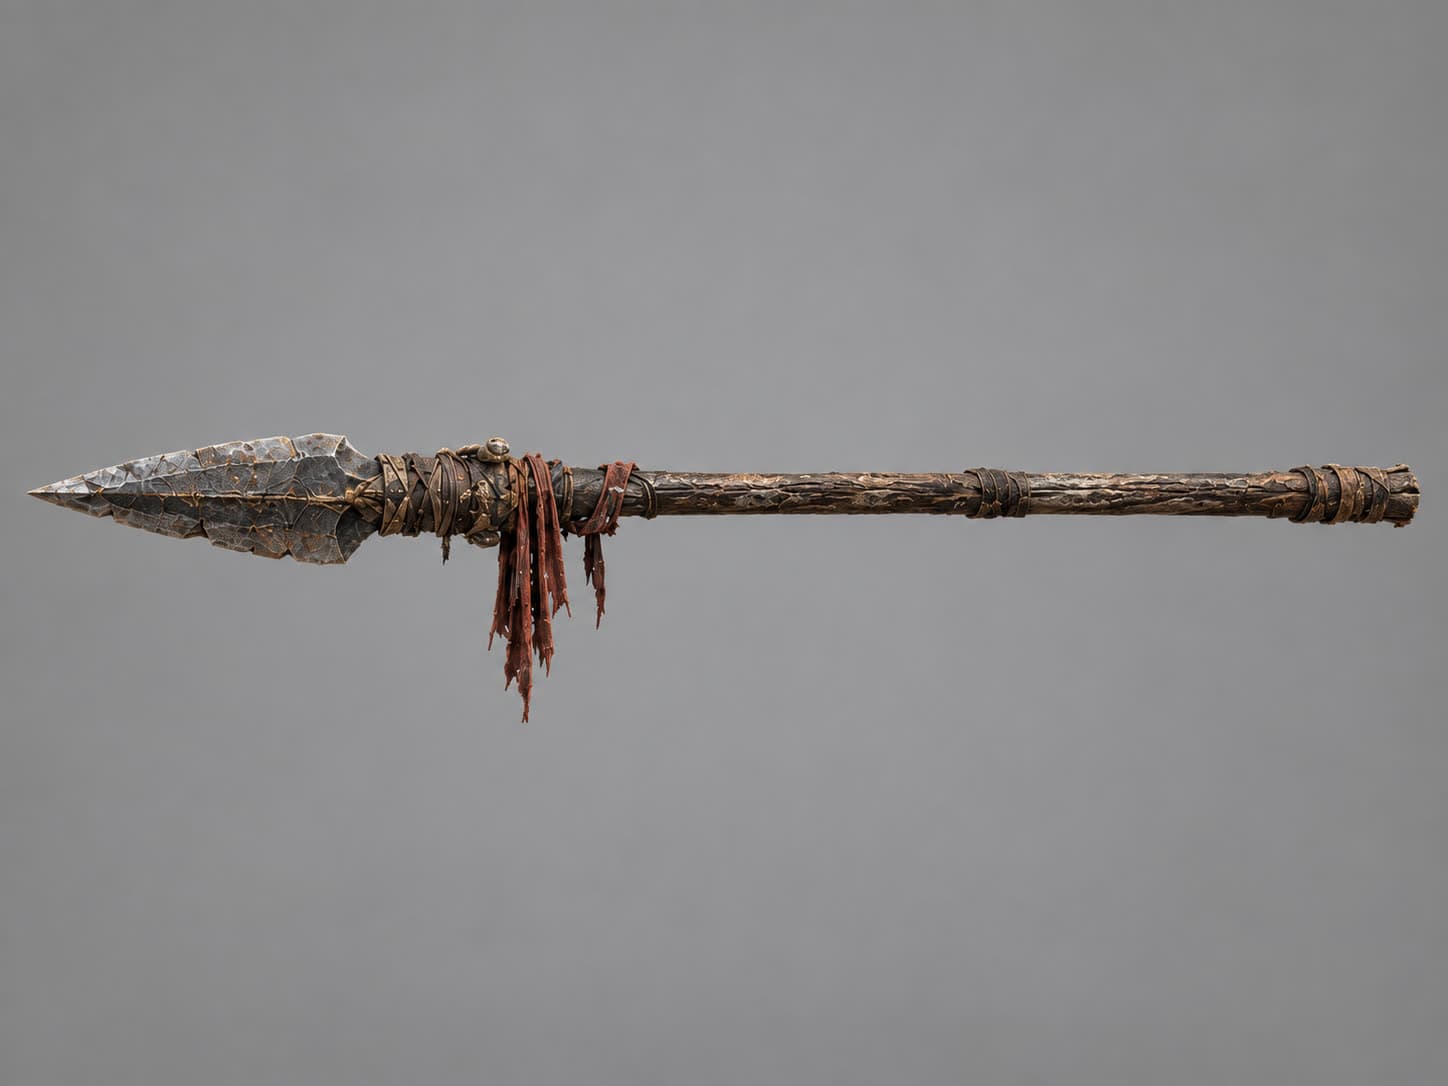
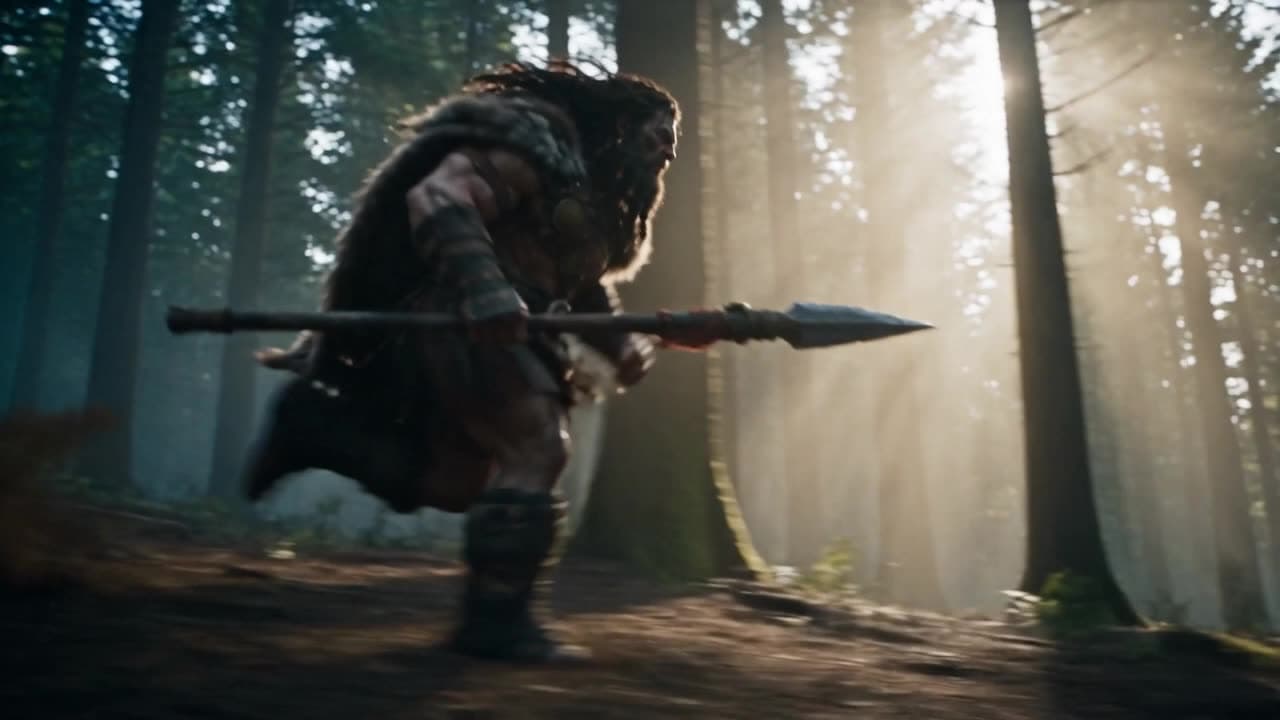
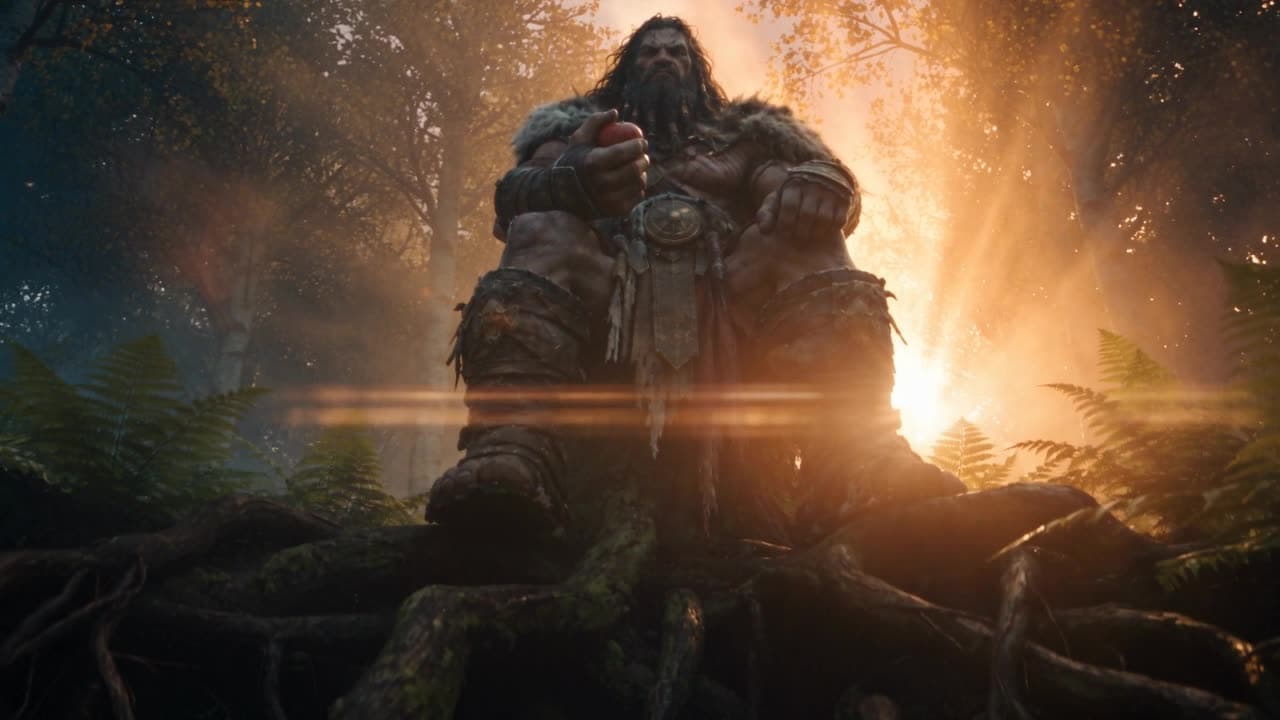
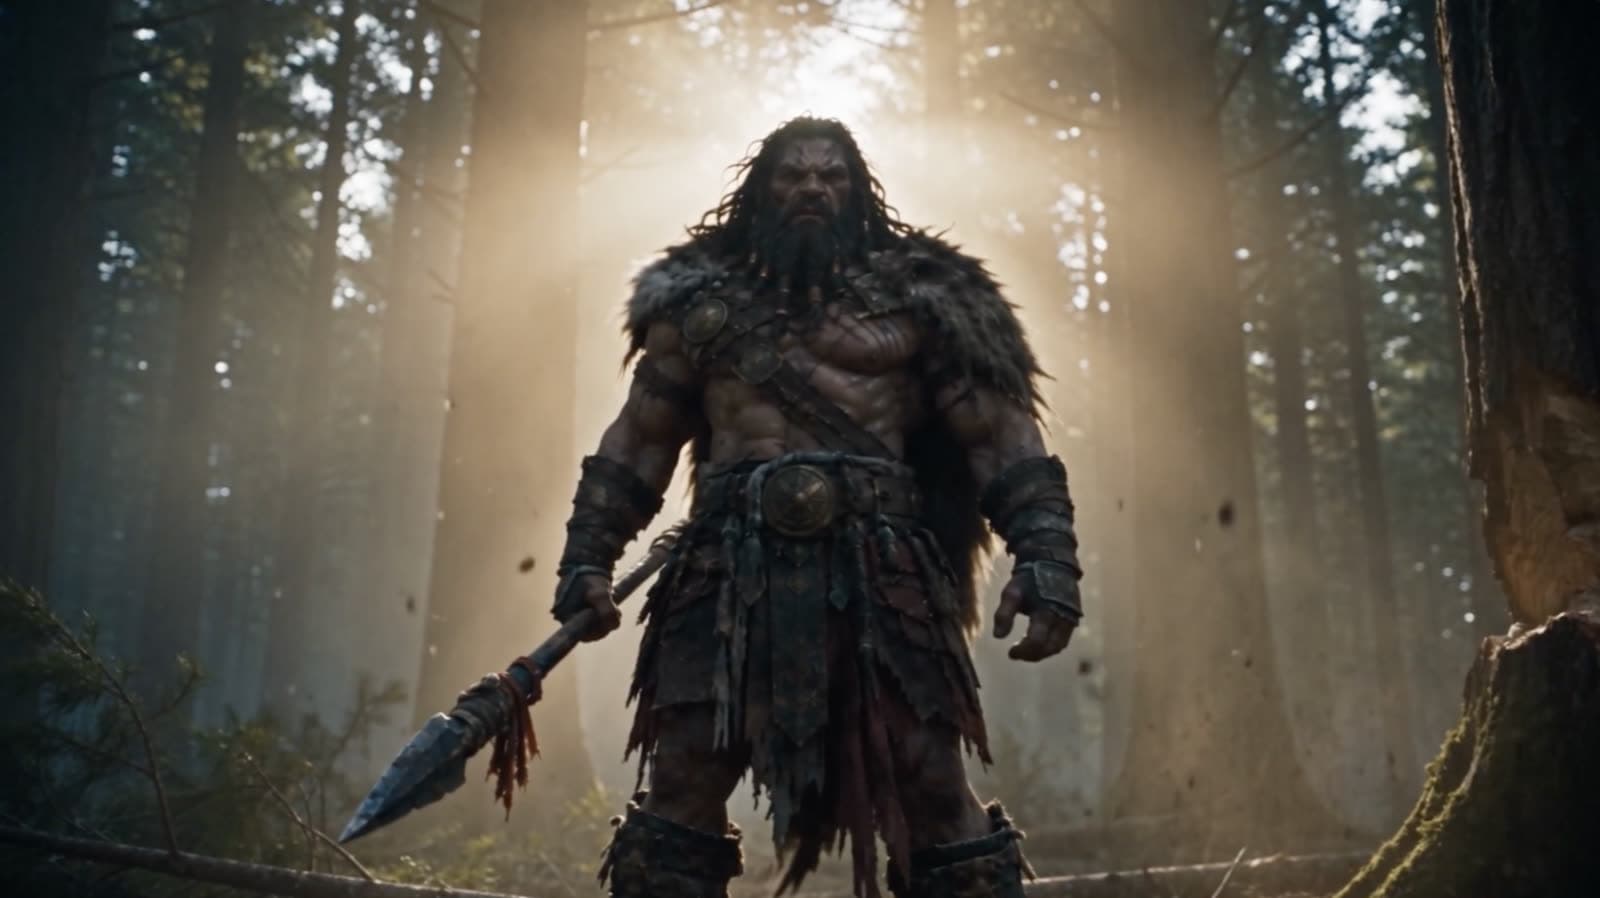
Moses’ staff. The Nephilim’s spear. If an object carries the story, build a separate reference on the same grey background and attach it alongside the character.
05 · Copy the prompt
The character sheet prompt, ready to paste.
Replace the highlighted parts with your character. Then run through the checklist before you generate.
Character sheet prompt / 16:9
16:9 landscape character reference sheet of [CHARACTER NAME] on a seamless gray studio background, four separate shots in one wide frame, no text, no labels, no writing anywhere. Identical character, wardrobe, hair, and proportions across all four shots. Shot 1 (far left): a clean close-up headshot with the face fully visible and detailed. Shot 2: a full-body front view from head to toe, standing, facing the camera. Shot 3: a full-body back view from head to toe, standing. Shot 4 (far right): a full-body side view from head to toe, standing. On shots 2, 3, and 4, render the head and face as a smooth, featureless neutral gray mask with no facial features. Keep the face fully visible and detailed ONLY in the left headshot. Cinematic live-action, photorealistic, extreme detail. [Describe your character: age, build, hair, wardrobe, signature details.]
0 of 7 checked
06 · Let the builder do it
The Character Builder already follows every rule.
Every sheet the Character Builder makes uses this exact layout, in every style from cinematic live action to anime and 2D animation. You describe the character. It handles the format.
Describe or upload
Write a description, or add up to five photos of a real person you have permission to use.
Pick your sheet
You get two four-panel sheets to choose from. Keep the one that fits.
Save as an Actor
Your pick becomes a reusable Actor in your workspace library.
Cast every shot
Every image and video generation reuses the same face and costume.
07 · The proof
Full films with
complete character consistency.
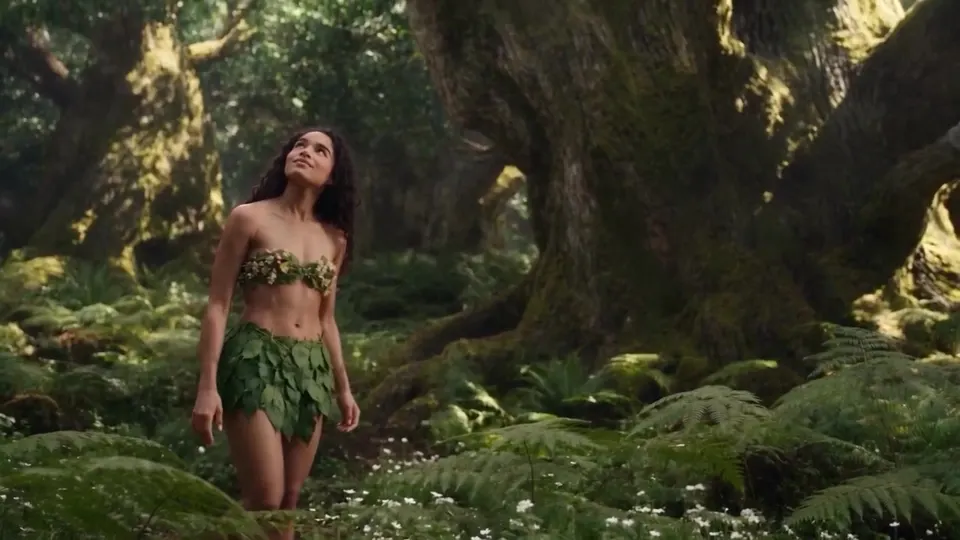
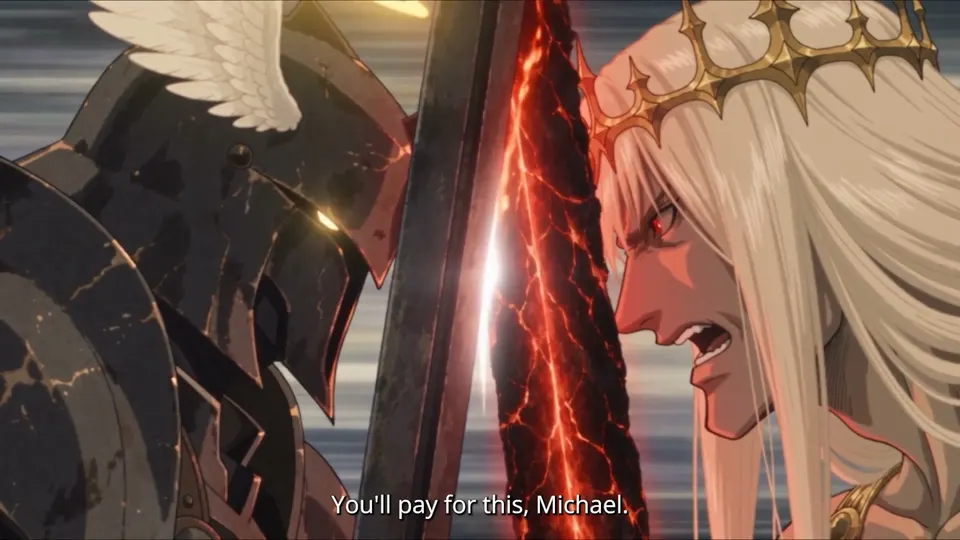
Each of these films was cast in the Character Builder. The same faces carry every scene from the first shot to the last.

Questions
AI character sheets, answered.
What is an AI character sheet?
An AI character sheet is a single reference image that shows a character from several angles so an image or video model can reproduce the same person in every shot. The most reliable format is a 16:9 sheet with four panels: a detailed face close-up plus full-body front, side, and back views on a solid grey background.
How do you create consistent AI characters?
Start with a clean character sheet and reuse it on every generation. Keep one detailed face on the sheet, show the full costume from the front, side, and back, and use a neutral grey background. In Pray Production Studio, the Character Builder makes the sheet and saves the character as an Actor, so every image and video in the project reuses the same identity.
Why grey out the faces on the full-body views?
Faces in full-body shots are too small to hold much detail, and they can confuse the model. It tries to reconcile a sharp close-up with three blurry faces. Greying them out tells the model to use the close-up as the only facial reference.
Why use a grey background instead of white?
A white background affects the lighting and can make a character look overly bright or plastic once they are placed in a scene. Solid grey is neutral, so skin tones, fabric, and texture read accurately.
What aspect ratio should a character sheet be?
Use 16:9. A wide frame fits a close-up and three full-body views side by side at a size where each panel still carries detail.
Should props go on the character sheet?
No. If a prop matters to the story, such as a staff, a sword, or a spear, give it its own reference sheet on the same grey background and attach it alongside the character.
Can I make a character sheet from a photo of a real person?
Yes. In the Character Builder you can upload up to five photos of the same person, and the sheet is generated from them so it keeps their likeness. Only use photos of people who have given you permission.
Does this work for animated characters?
Yes. The Character Builder uses the same four-panel, grey-background, one-face layout for every art style, including anime, claymation, 2D animation, and comic book. Animals and creatures get a separate layout built for their anatomy.
Keeping a whole cast consistent across a series? Read the character consistency guide ↗
Your character. Every shot.
Four panels today.
A whole film tomorrow.
Build the sheet in the Character Builder and carry the same face from the first shot to the last.
Create your first characterPray Production Studio is made by Pray.com.